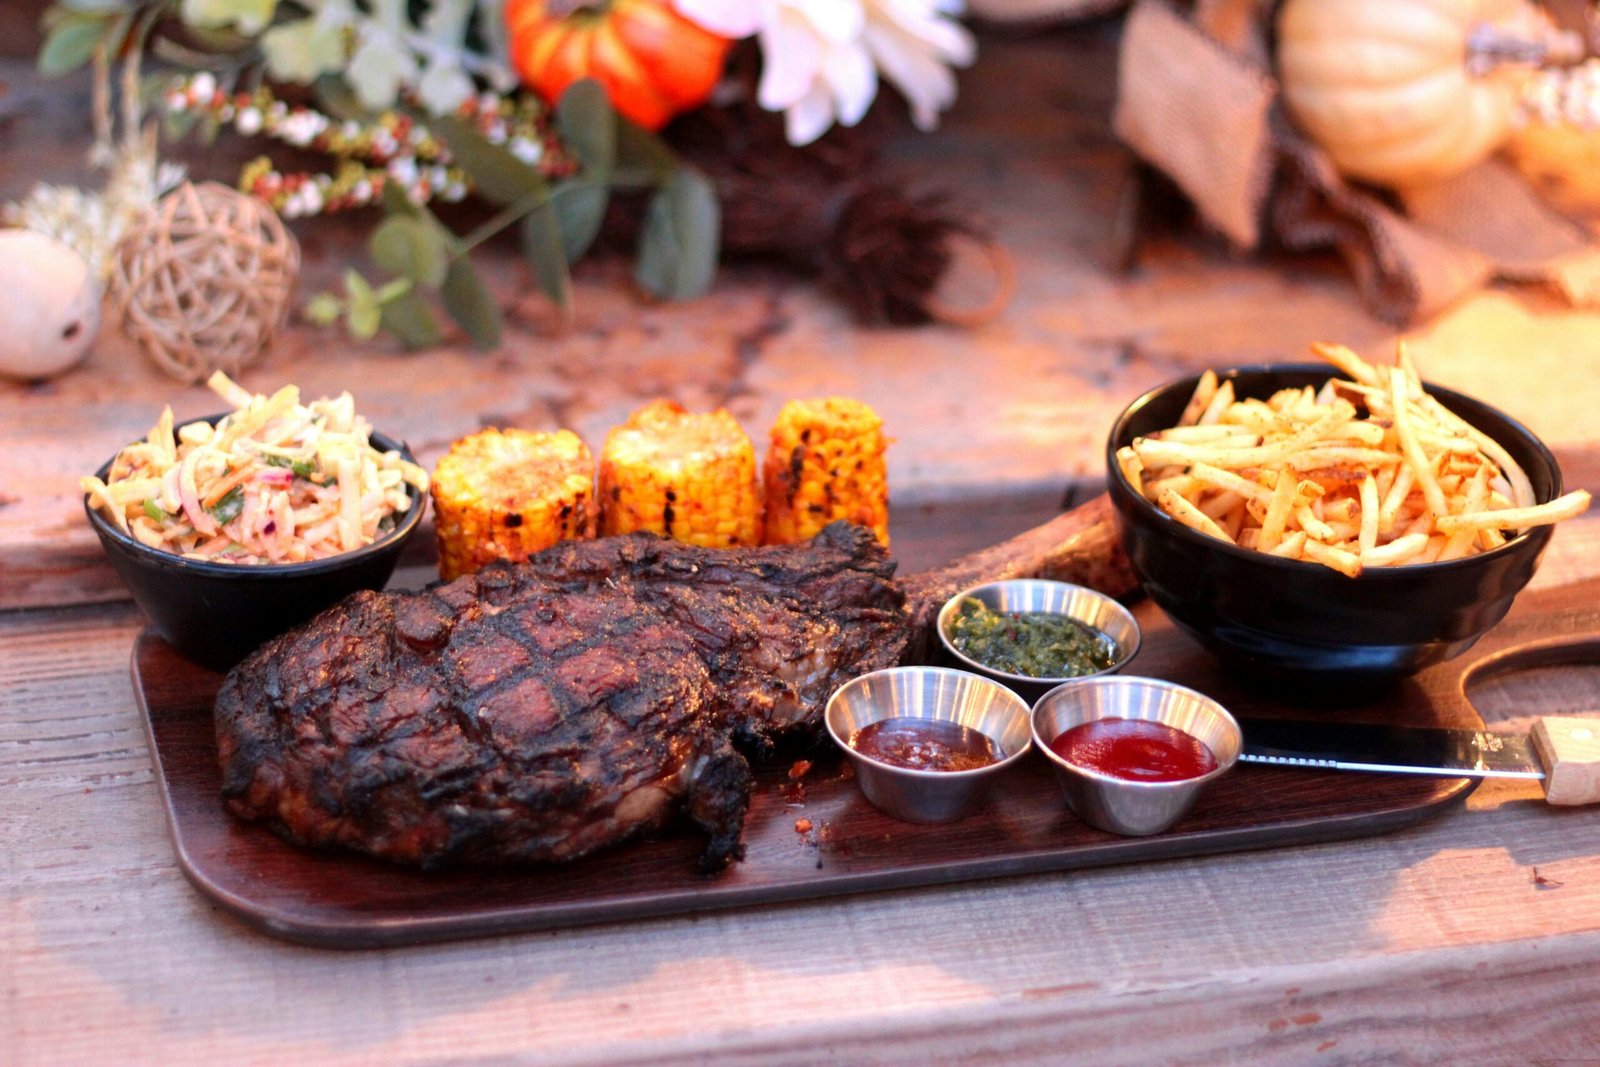
A Simple Guide to Getting Grill Marks
Grill marks on meat are not just a sign of good cooking; they add a touch of professional flair and enhance the visual appeal of your dishes. Whether you’re grilling steaks, burgers, chicken breasts, or vegetables, mastering the art of grill marks can take your outdoor cooking skills to the next level. In this guide, we’ll explore the techniques and tips to help you achieve those coveted grill marks every time.
Understanding Grill Marks:
Before diving into the techniques, it’s essential to understand how grill marks form. Grill marks are the result of the Maillard reaction, a chemical reaction between amino acids and sugars in the food when exposed to high heat. This reaction creates the characteristic browned and flavorful crust on grilled meats.
Tips for Perfect Grill Marks:
- Preheat Your Grill: Ensure your grill is preheated to the appropriate temperature before cooking. For gas grills, preheat to medium-high heat (around 400-450°F), and for charcoal grills, wait until the coals are glowing red and covered with ash.
- Clean and Oil the Grates: Clean grill grates thoroughly with a grill brush to remove any debris or residue. Before cooking, lightly oil the grates using a paper towel soaked in vegetable oil or a non-stick cooking spray. This helps prevent sticking and promotes even grill marks.
- Pat Dry and Season the Meat: Pat the meat dry with paper towels before grilling to remove excess moisture, which can inhibit grill marks. Season the meat with salt, pepper, and any desired spices or marinades.
- Positioning and Timing: Place the meat on the preheated grill at a 45-degree angle to the grates. This initial angle helps create the first set of grill marks. After 1-2 minutes (depending on the thickness of the meat), rotate the meat 90 degrees to create a crosshatch pattern. Cook for another 1-2 minutes before flipping the meat to cook the other side.
- Avoid Flipping Too Often: Resist the urge to flip the meat too frequently. Flipping too often can disrupt the grill marks and prevent them from forming properly. Aim for one flip during cooking, unless the recipe specifies otherwise.
- Use Grill Press or Weight: For thicker cuts of meat like steaks, burgers, or chicken breasts, consider using a grill press or weight. A grill press helps ensure even contact with the grill grates, promoting more defined grill marks and faster cooking.
- Grill Veggies for Variety: Don’t limit grill marks to just meat. You can achieve beautiful grill marks on vegetables like bell peppers, zucchini, and eggplant. Cut vegetables into uniform slices, brush with oil, and grill using the same angle and timing techniques as for meat.
- Rest and Serve: Once the meat is cooked to your desired doneness, remove it from the grill and let it rest for a few minutes before slicing or serving. This allows the juices to redistribute evenly, ensuring juicy and flavorful results.
By following these tips and techniques, you’ll be well on your way to mastering the art of grill marks on meat. Experiment with different cuts, seasonings, and grilling times to find what works best for your taste preferences. With practice and attention to detail, you’ll impress your guests and elevate your outdoor cooking game to new heights. Happy grilling!
Check out our amazon affiliate grilling items here For more information visit our website website
